Add any item from the Universal Add page in TimeCaptis. Refer to the detailed instructions in the step by step guide below.
1. Sign in to your TimeCaptis Account
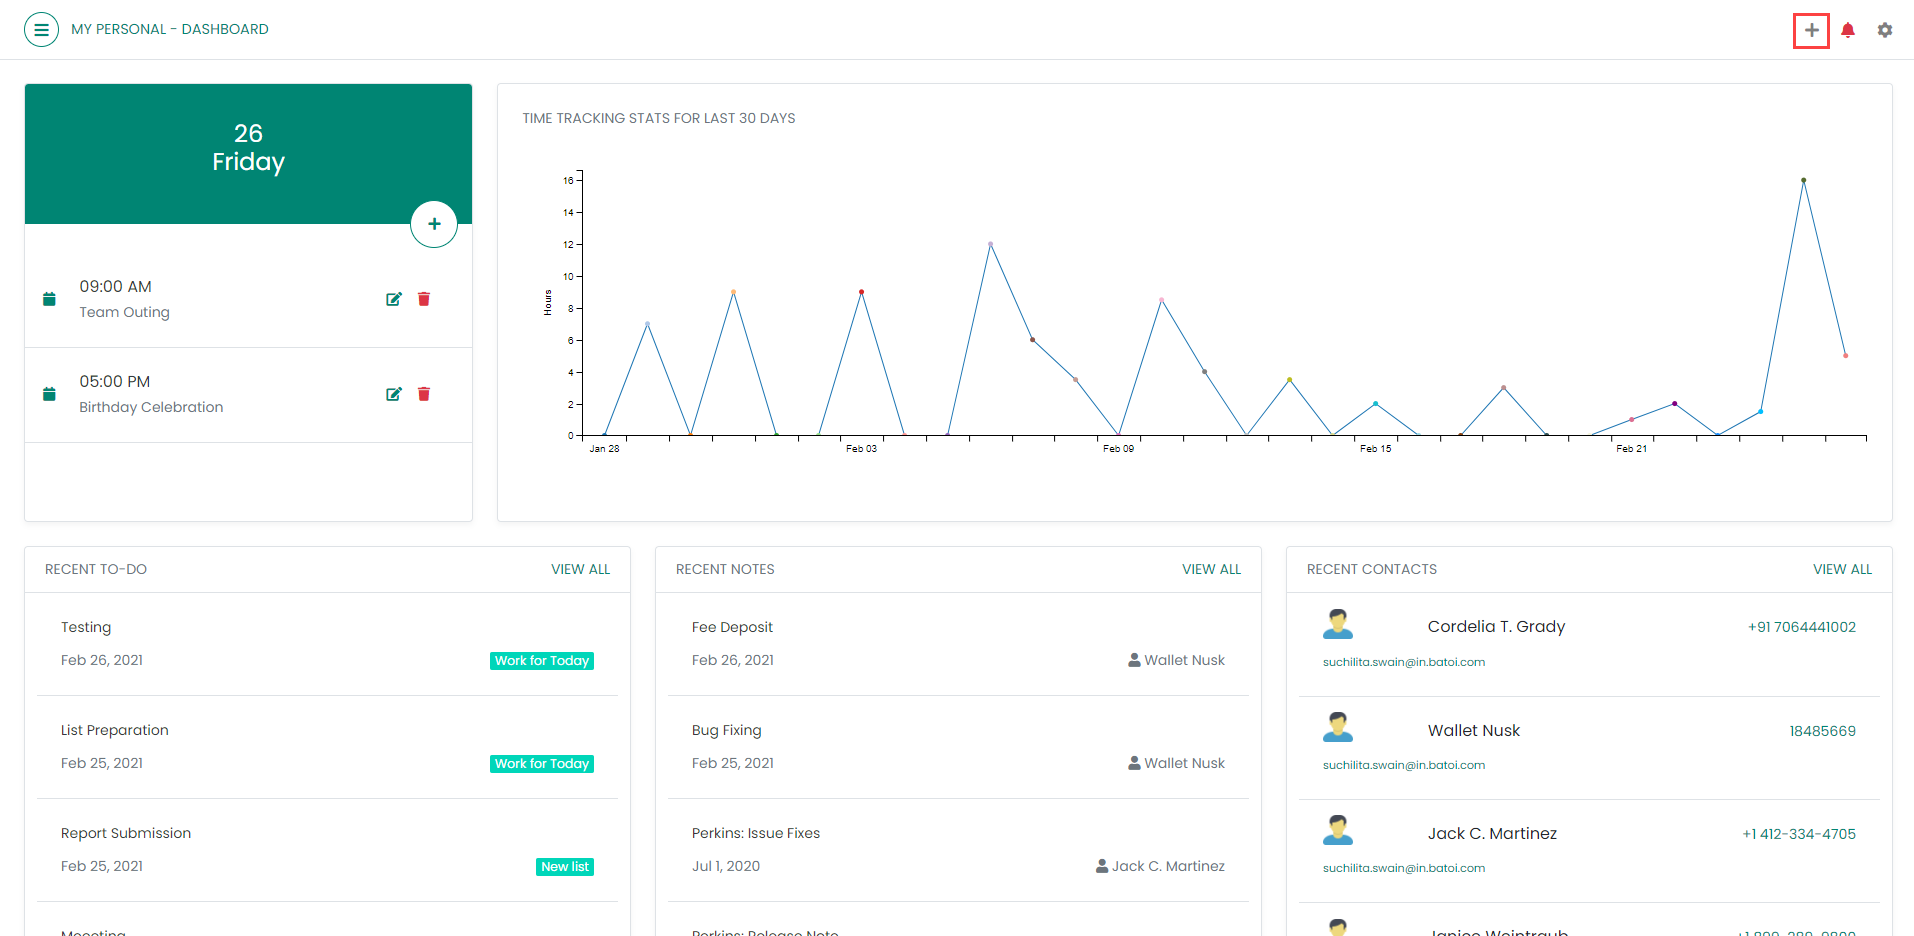
2. Click on the ‘+’ icon from the menu bar.
Figure 1
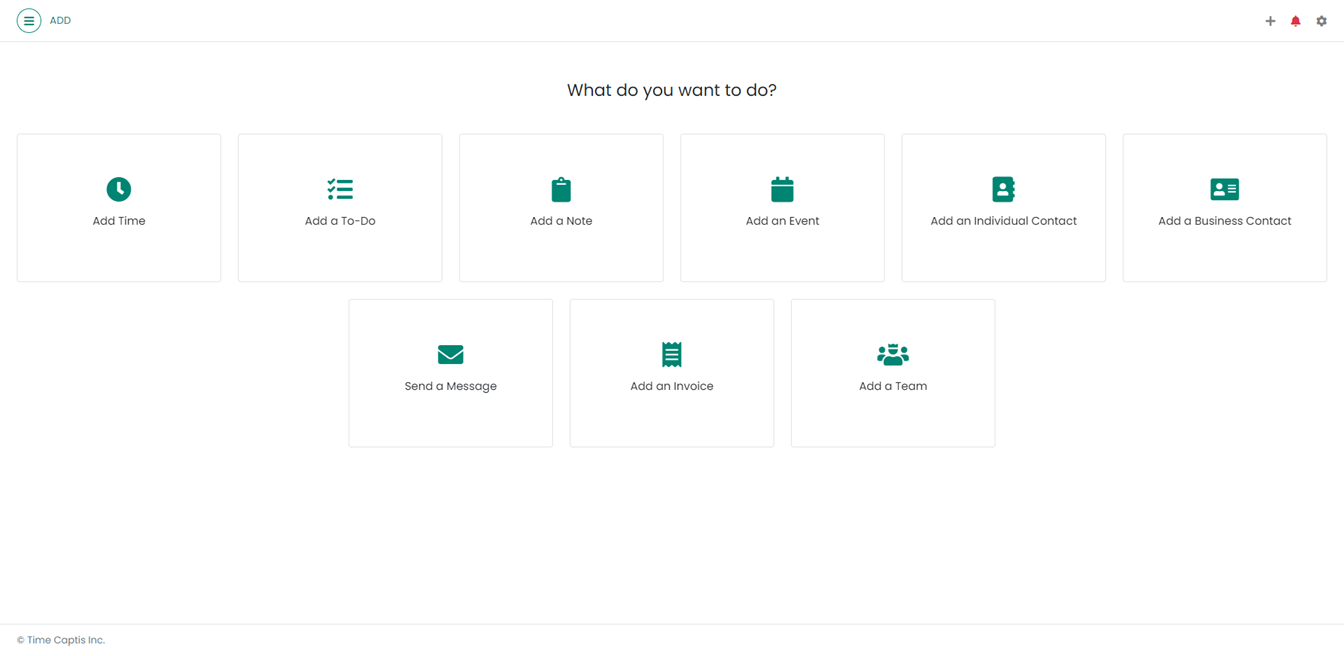
3. Upon doing so, the ‘Universal Add’ page will appear as shown in Figure 2.
Figure 2
The Universal Add page as shown in Figure 2, will appear for a Pro Subscriber.
The following options ‘Send a Message’, ‘Add an Invoice’ and ‘Add a Team’ are not available for a Free Subscriber in the Universal Add page.
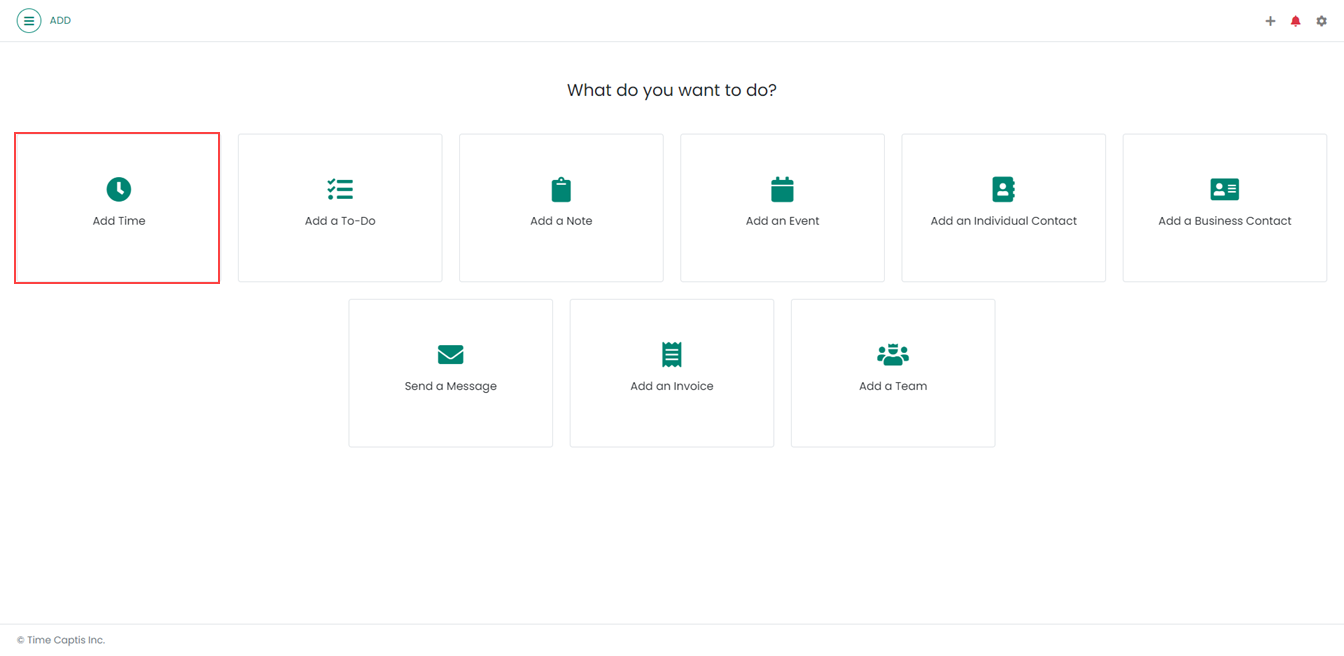
4. To add Time, click on the ‘Add Time’ link as shown in Figure 3.
Figure 3
5. Upon doing so, the ‘Add Time’ page will appear as shown in Figure 4, the functionality of which is already discussed in the 'Time Report' Section.
Figure 4
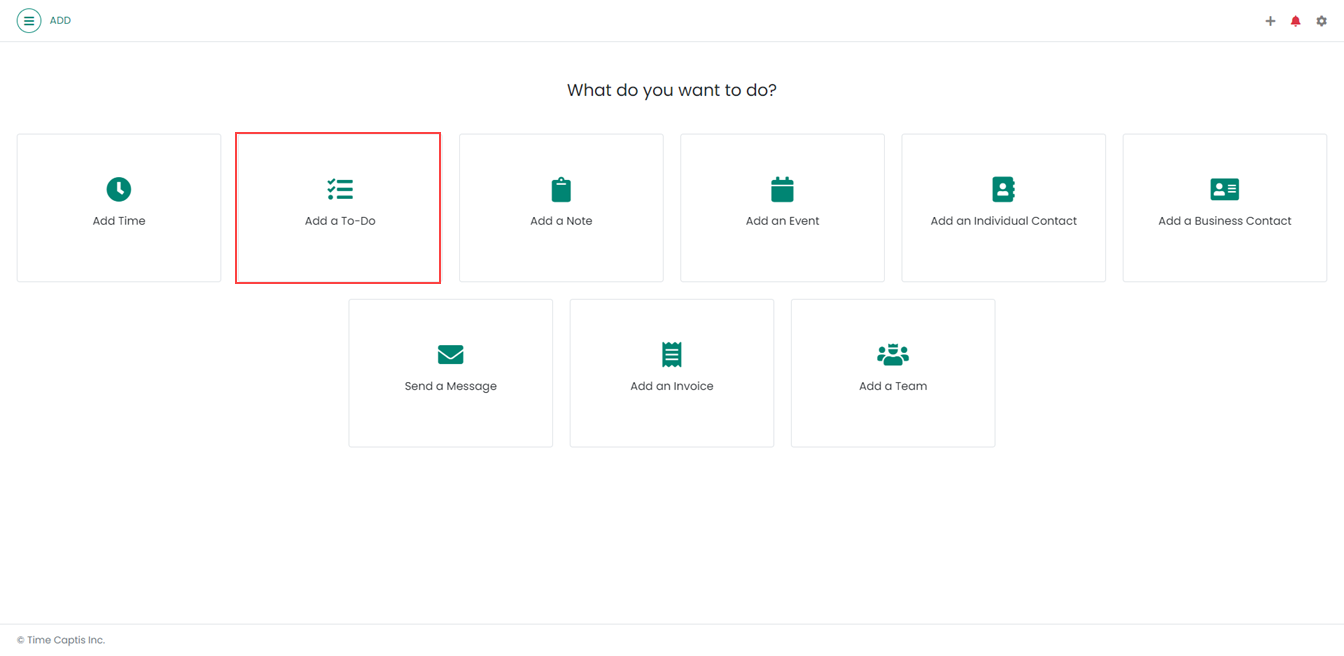
6. To add a To-Do Item, click on the ‘Add a To-Do’ link as shown in Figure 5.
Figure 5
Upon doing so, the 'Add To-Do Item' page will appear, the functionality of which is discussed in the 'To-do' Section.
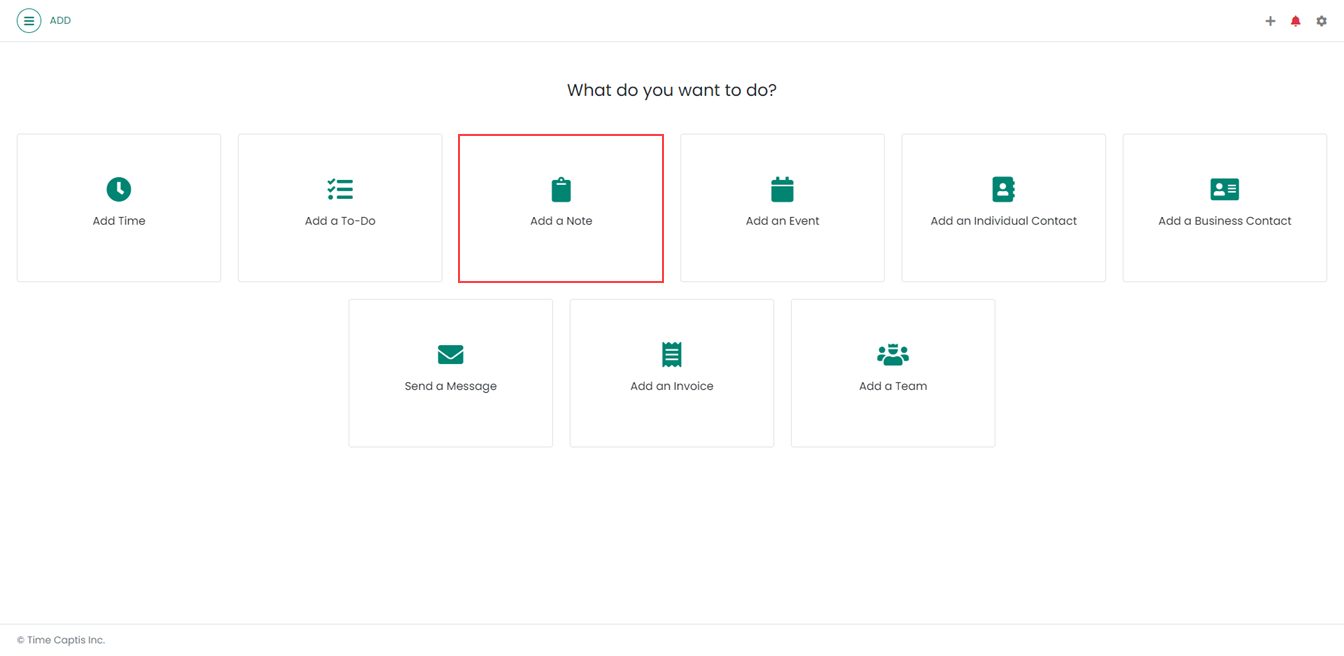
7. To add a Note, click on the ‘Add a Note’ link as shown in Figure 6.
Figure 6
Upon doing so, the 'Add Note' page will appear, the functionality of which is discussed in the 'Notes' Section.
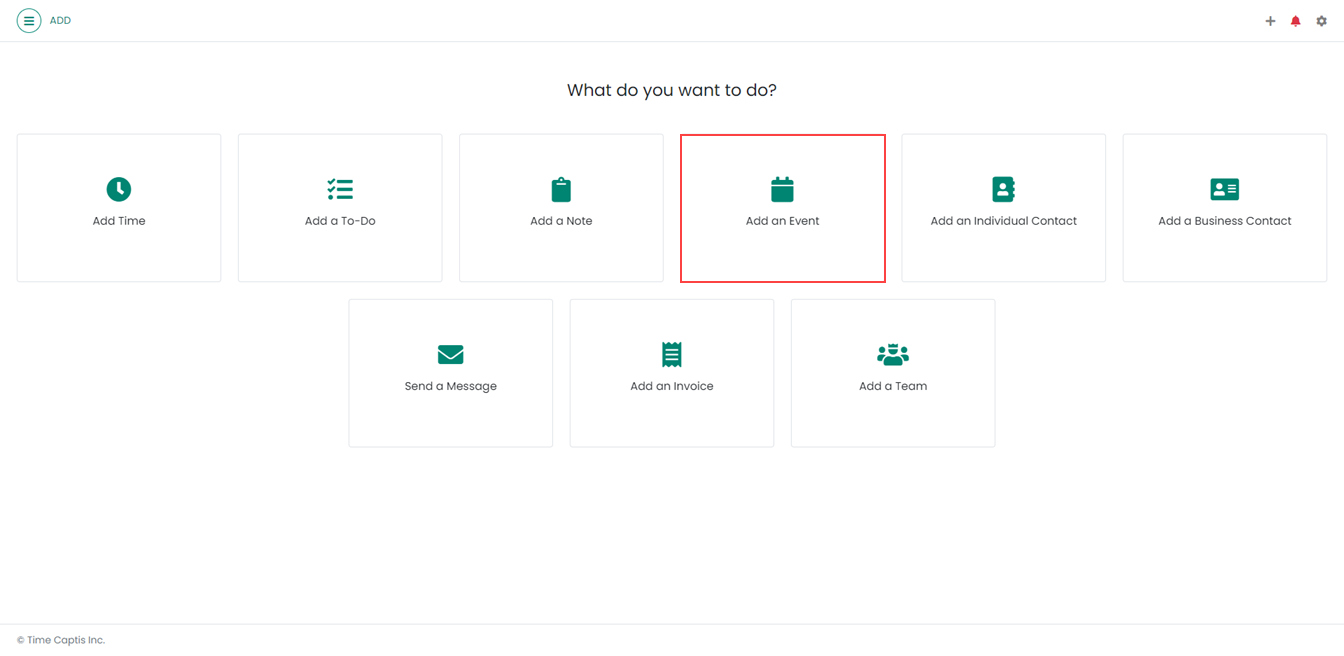
8. To add an Event, click on the ‘Add an Event’ link as shown in Figure 7.
Figure 7
Upon doing so, the 'Add Event' page will appear, the functionality of which is discussed in the 'Calendar' Section.
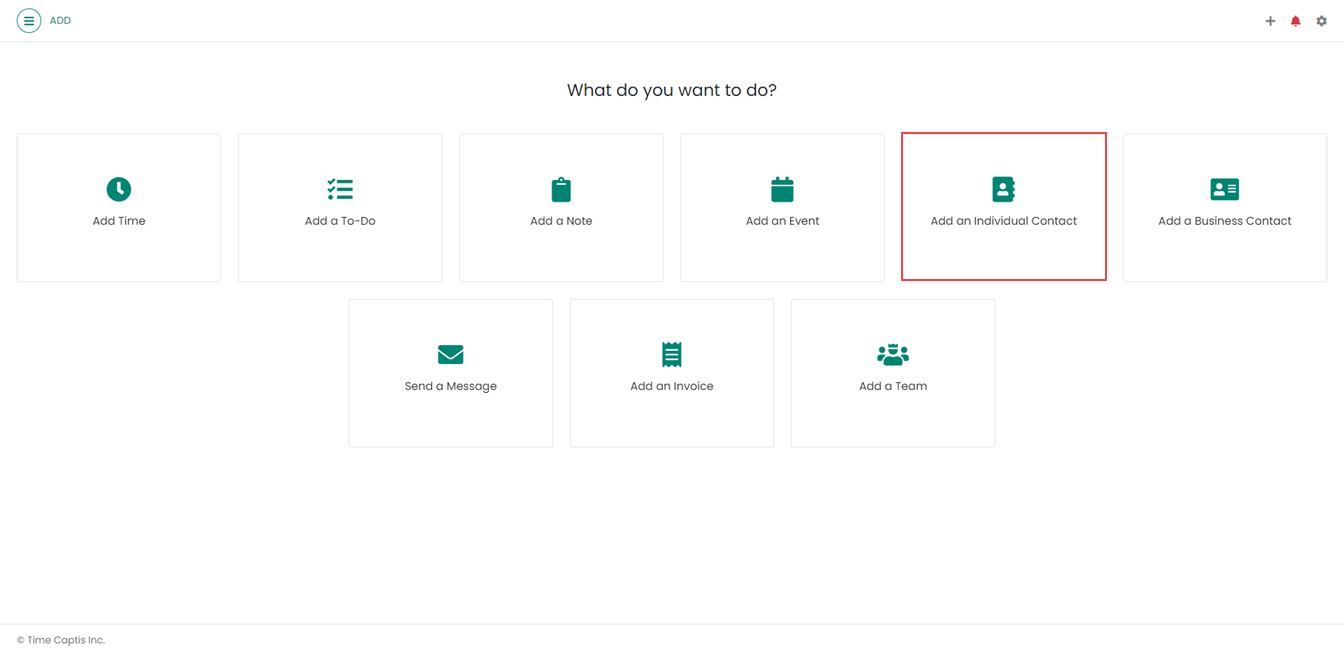
9. To add an Individual Contact, click on the ‘Add an Individual Contact’ link as shown in Figure 8.
Figure 8
Upon doing so, the 'Add Contact' page will appear with selecting the 'Individual' radio button as the Contact type, the functionality of which is discussed in the 'Contacts' Section.
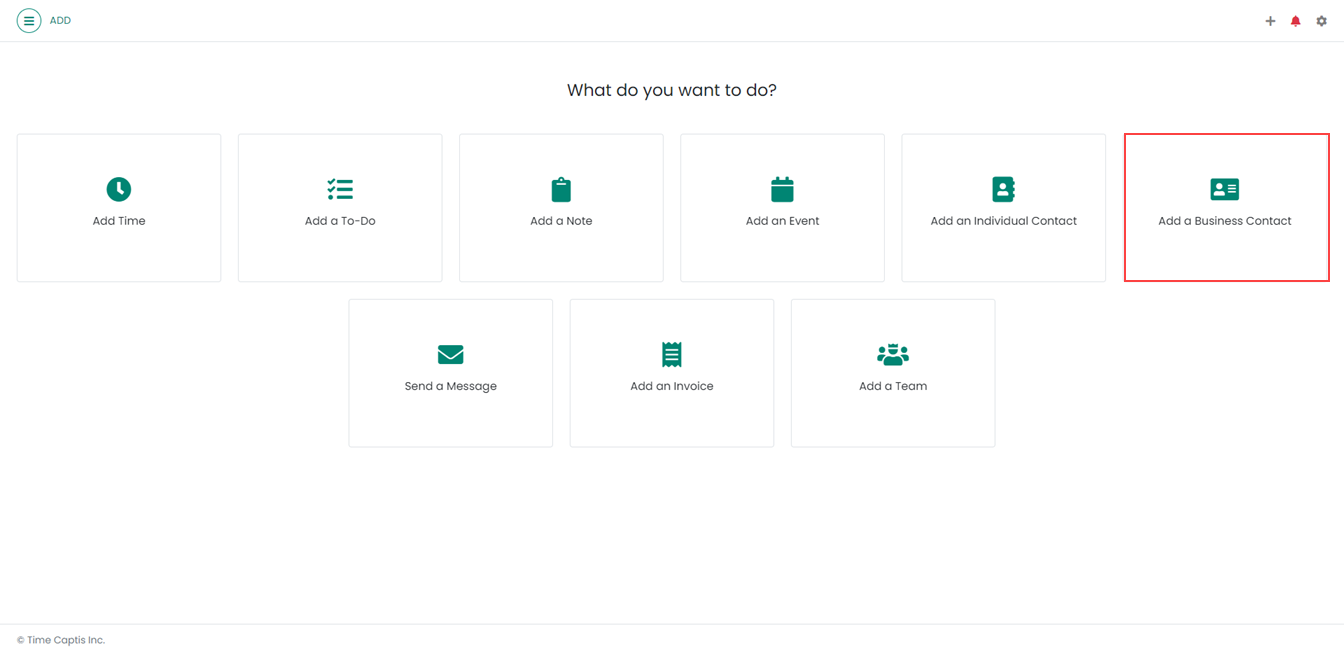
10. To add a Business Contact, click on the ‘Add a Business Contact’ link as shown in Figure 9.
Figure 9
Upon doing so, the 'Add Contact' page will appear with selecting the 'Business' radio button as the Contact type, the functionality of which is discussed in the 'Contacts' Section.
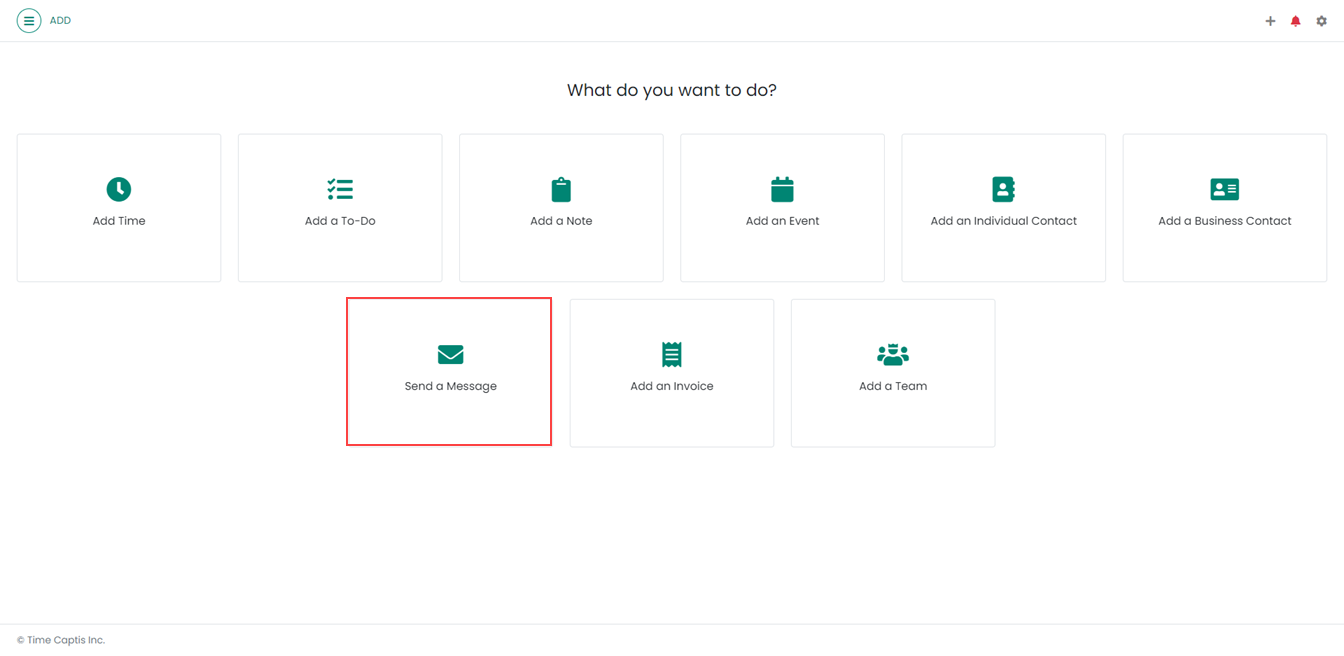
11. To send a message, click on the ‘Send a Message’ link as shown in Figure 10.
Figure 10
Upon doing so, the 'Add Message' page will appear, the functionality of which is discussed in the 'Message' Section.
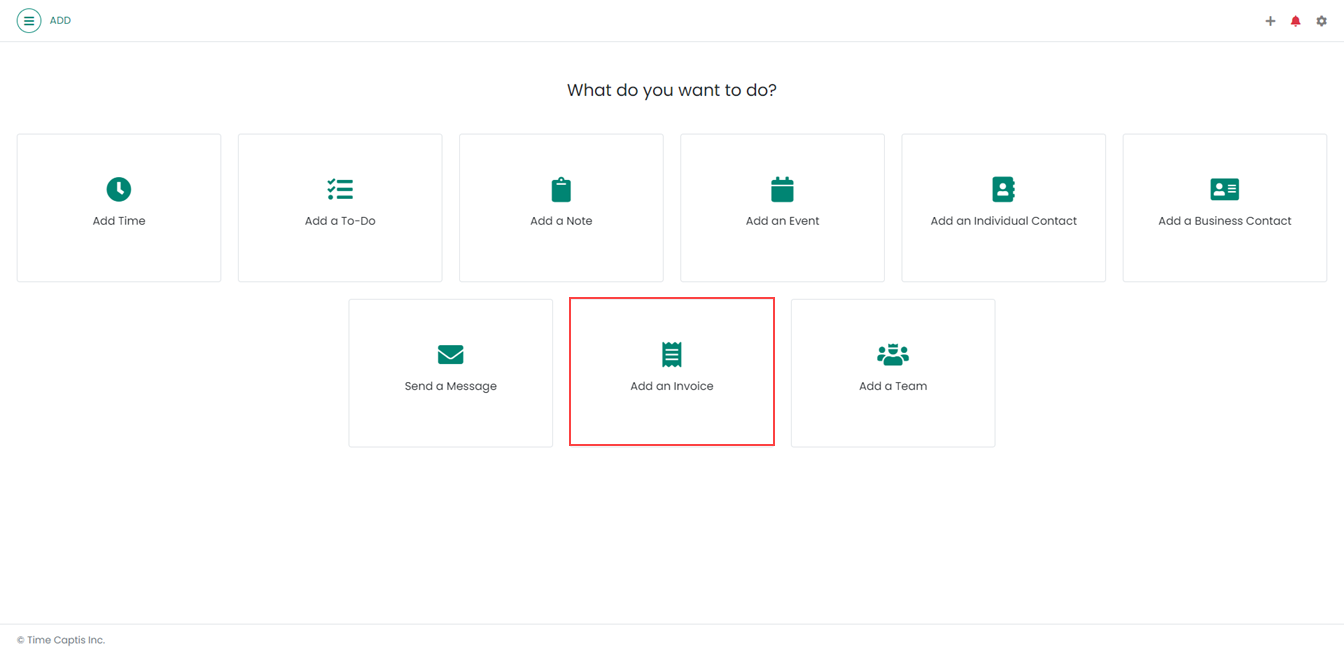
12. To add an Invoice, click on the ‘Add an Invoice’ link as shown in Figure 11.
Figure 11
Upon doing so, the 'Add an Invoice' page will appear, the functionality of which is discussed in the 'Team' Section.
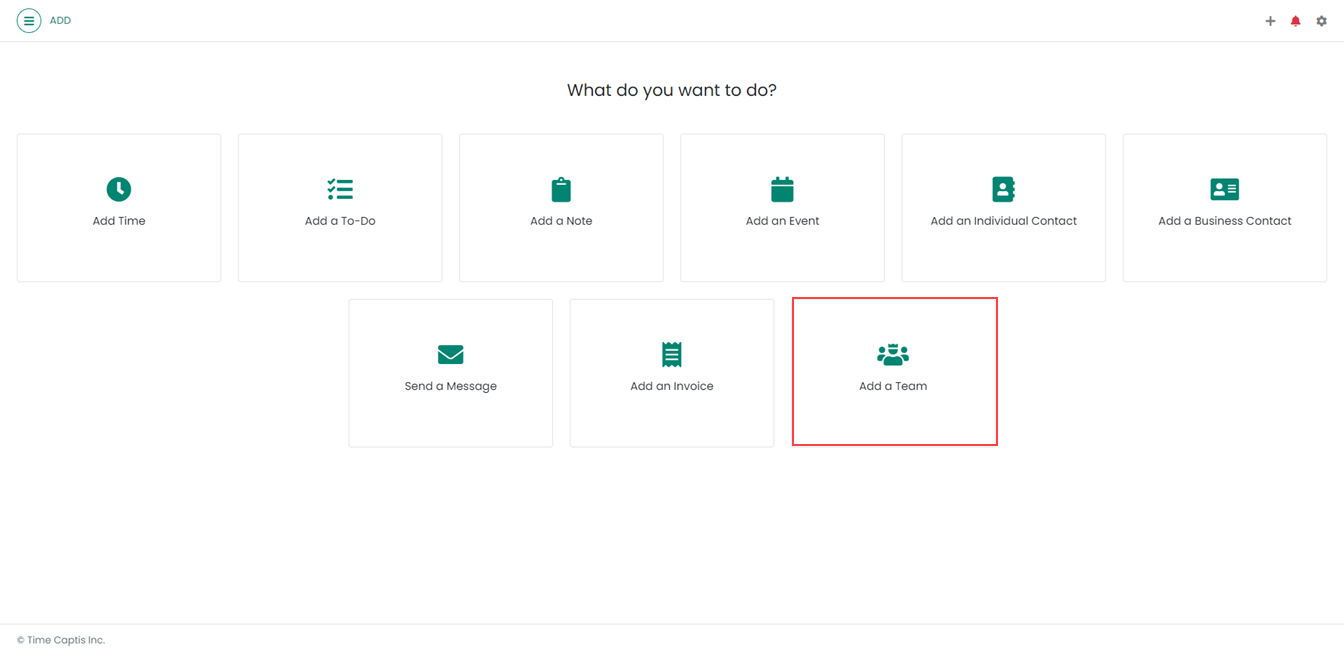
13. To add a Team, click on the ‘Add a Team’ link as shown in Figure 12.
Figure 12
Upon doing so, the 'Add Team' page will appear, the functionality of which is discussed in the 'Team' Section.
Manage and track time. Loved by thousands of people worldwide. Trusted by many businesses.
Discover how TimeCaptis accelerates gig work management - from streamlined task management to mobile accessibility, and read real success stories. Perfect for freelancers and independent professionals looking to enhance productivity and client relations in the gig economy. Try TimeCaptis today!
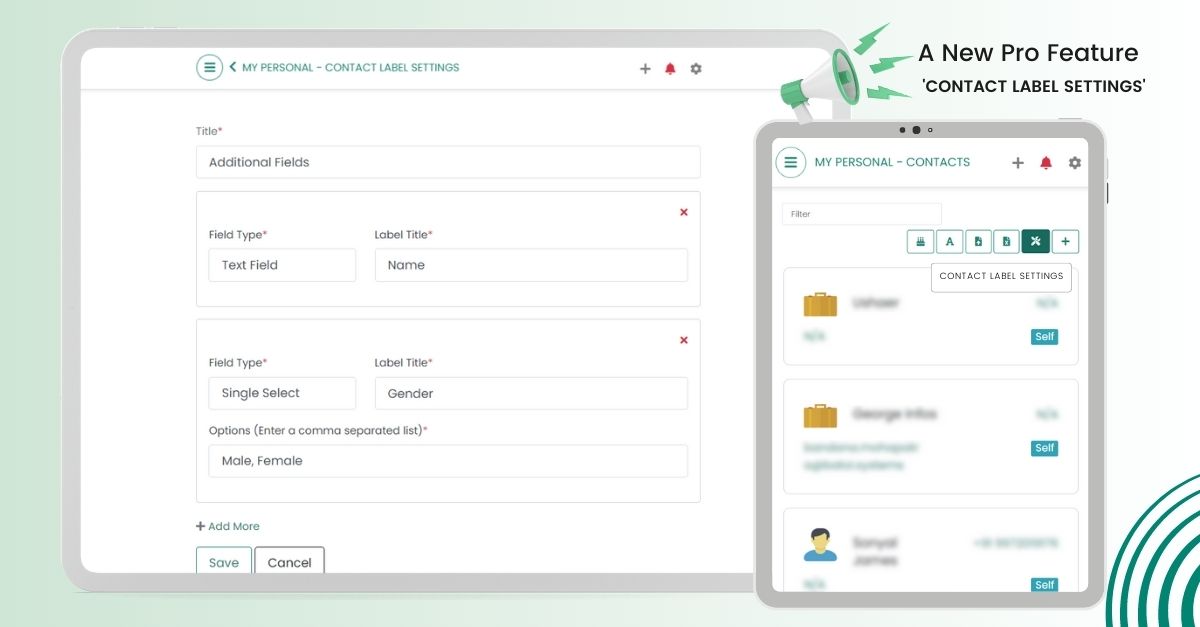
In this blog post, we will explore how custom fields in TimeCaptis can revolutionize your contact management process, enabling you to tailor it to your unique business requirements.
The Pomodoro technique is similar to the time blocking method that tells you to divide your whole workday into smaller blocks separated by small breaks.